Be sure to check out my Scripting4Crypto initiative. It’s a fun way to get into using cryptocurrencies all while getting your PowerShell needs met.
In this post, we will be looking at using the Rename-PWDocuments cmdlet. I have had a couple of requests for assistance, and I want to hopefully clear up any confusion on how to take advantage of this tool. For this, I will be creating a new folder and adding a few abstract documents to it. We will then go through the process of renaming the new documents, adding a physical file to one of the documents and renaming it.
We will be using the following cmdlets to accomplish this task. All of the ProjectWise related cmdlets are available using the PWPS_DAB module. At the time of this post, I am using version 1.12.8.0. Take a look at the help for each of the cmdlets to become familiar with their functionality, available parameters, etc.
- New-PWFolder
- New-PWDocumentAbstract
- Get-PWDocumentsBySearch
- Update-PWDocumentFile
- Rename-PWDocuments
Create ProjectWise Folder
Here we will create a new folder to add our documents to. I am using a splat to pass the parameter / value pairs to the New-PWFolder cmdlet. The new ProjectWise folder object will be returned.
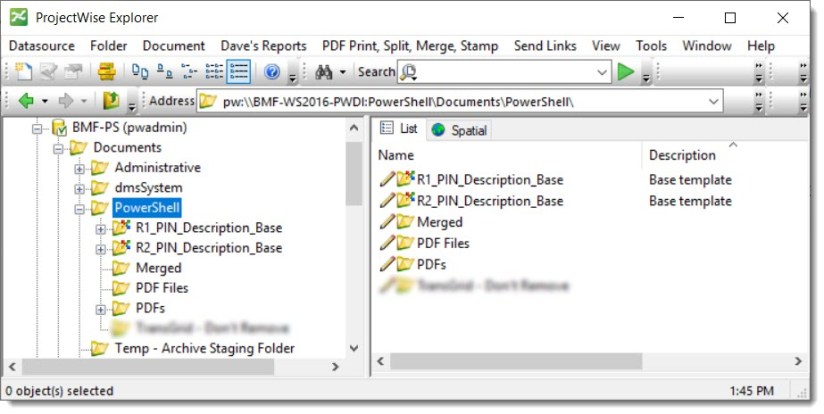
The following shows ProjectWise Explorer prior to creating the new folder.
# Create new ProjectWise folder to create documents in.
# Using Splat for readability.
$Splat_NewFolder = @{
    FolderPath = 'PowerShell\RenameDocuments'
    StorageArea = 'Storage'
    Description = 'Folder for testing renaming documents.'
}
$pwFolder = New-PWFolder @Splat_NewFolder -Verbose
The following shows the new folder within ProjectWise Explorer.

Create New Abstract Documents
We will be creating 5 new abstract documents within our new folder. We will pass the new ProjectWise folder object to the New-PWDocumentAbstract cmdlet. 5 new ProjectWise Document objects will be returned.
#Create new abstract documents within ProjectWise folder.
$Splat_NewDocuments = @{
    InputFolders = $pwFolder
    DocumentName = 'Rename_Documents'
    Description = 'Renaming documents with PowerShell'
    Count = 5
}
$pwDocuments = New-PWDocumentAbstract @Splat_NewDocuments -Verbose
The following shows the contents of the folder after the abstract documents were created.

Rename Documents
Now that we have our documents we can start renaming them as desired. We will use the $pwDocuments variable which contains the ProjectWise Document objects for the new documents.
Step 1
We will replace “Rename_” portion of the document names with our project number ‘12121212’ followed by a dash. To do this, we will need to populate the DocumentNamePart with the value to replace. And the DocumentNameReplacement with the new value or the value to replace with.
# Replace the first part of the document name.
$Splat_Rename = @{
    InputDocument = $pwDocuments
    DocumentNamePart = 'Rename_'
    DocumentNameReplacement = '12121212-'
}
Rename-PWDocuments @Splat_Rename -Verbose
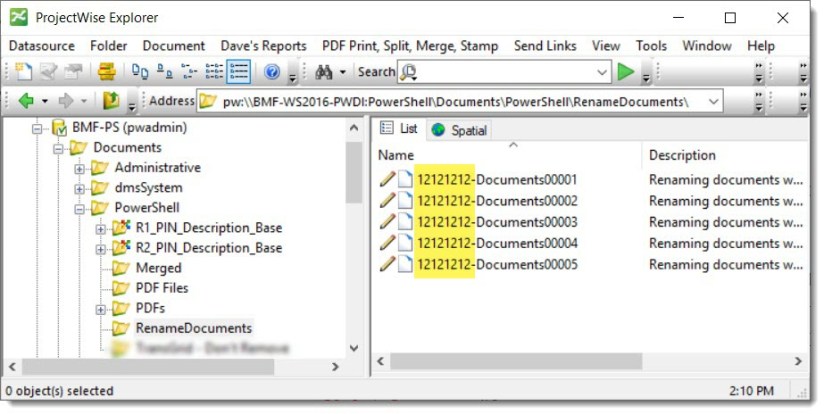
The following shows the updated document names.
Step 2
Next, we will replace “Documents” portion of the document names with “Drawing”, followed by a dash. Yes, this could have been accomplished both of these updates all at once, but what is the fun in that.
# Replace second part of the document name.
$Splat_Rename = @{
    InputDocument = $pwDocuments
    DocumentNamePart = 'Documents'
    DocumentNameReplacement = 'Drawing-'
}
Rename-PWDocuments @Splat_Rename -Verbose
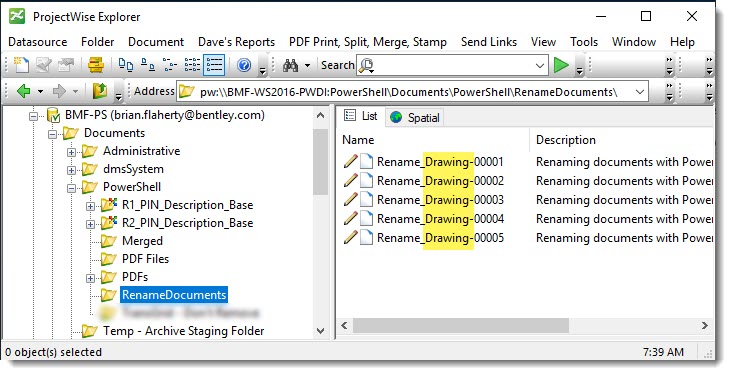
The following shows the updated document names.
You can also update the physical file name in a similar fashion, using the -FileNamePart and -FileNameReplacement parameters of the Rename-PWDocuments cmdlet.
Rename Files
Add Physical File To Documents
Now we will add a physical file to one of the abstract documents to demonstrate additional renaming document functionality.
Select Document To Add File To
We are going to select only one of the documents to add a physical file to.
# Select one document to add file to.
$Splat_GetDoc = @{
    FolderID = $pwFolder.ProjectID
    DocumentName = 'Rename_Drawing-00001'
}
$pwDoc = Get-PWDocumentsBySearch @Splat_GetDoc -JustThisFolder -Verbose
Add Physical File
Here we add the RenameDocuments.txt file to the selected document object.
# Add file to the documents.
$Splat_AddFile = @{
    InputDocuments = $pwDoc
    NewFilePathName = 'D:\temp\RenameDocuments.txt'
}
Update-PWDocumentFile @Splat_AddFile -Verbose
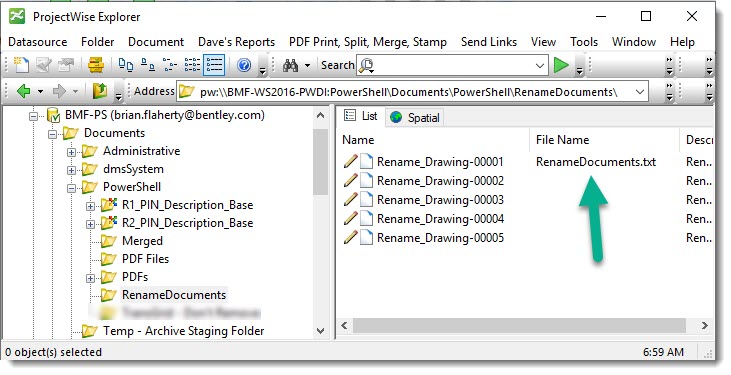
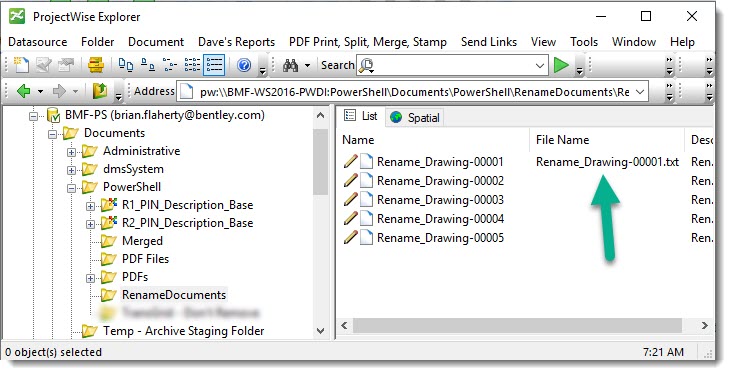
The following shows the file name for document Rename_Drawing-00001. Notice the file name and the document name are not the same. Having both named the same is a typical practice within ProjectWise. So, let’s resolve that.
Rename Physical File to Match Document Name
Here we will be renaming the physical file so that it matches the document name. The updated file name will still include the file extension. This is accomplished once again by using the Rename-PWDocuments cmdlet, however this time we will use the -ReplaceFileNameWithDocumentName parameter. We are only updating one document, however, you could update many document objects at once.
NOTE: We will need to get the document object once again, in order to update the file name. Repeat the previous process.
# Rename the phsical file to match the document.
$Splat_RenameFile = @{
    InputDocument = $pwDoc
    ReplaceFileNameWithDocumentName = $true
}
Rename-PWDocuments @Splat_RenameFile -Verbose
The following shows the file name has been updated to match the document name.
You can update the document name to match the physical file name, minus the extension, by using the -ReplaceDocumentNameWithFileName parameter in the Rename-PWDocuments cmdlet.
Summary
We went through creating a ProjectWise folder, creating 5 abstract documents within the folder, renaming the documents, and finally adding a physical file to one of the documents and renaming it.
The reason for this post is to hopefully clear up some confusion with how to use this cmdlet. Be sure to familiarize yourself with the various parameters for the Rename-PWDocuments cmdlet.
Experiment with it and have fun.
Hopefully, you find this useful. Please let me know if you have any questions or comments. If you like this post, please click the Like button at the bottom of the page.

could I also rename directories?
LikeLike
Take a look at Update-PWFolderNameProps.
LikeLike
Could I also rename a directory
LikeLike
Any way to rename the versions as well?
LikeLike
Versions are immutable and therefore cannot be renamed.
You would have to make each version, active and then create a new version. Not a recommended process.
Cheers,
Brian
LikeLike